Blog
Digital RTX Instruments Chevrolet C10 1967-1972
Great topic! Here’s a comprehensive blog post on Digital RTX Instruments for the Chevrolet C10 (1967–1972). It covers what RTX (digital) gauges are, why they matter for classic pickups, installation considerations, and practical tips for blending vintage appeal with modern instrumentation.
Title: Modern Precision Meets Vintage Charm: Digital RTX Instruments for the Chevrolet C10 (1967–1972)
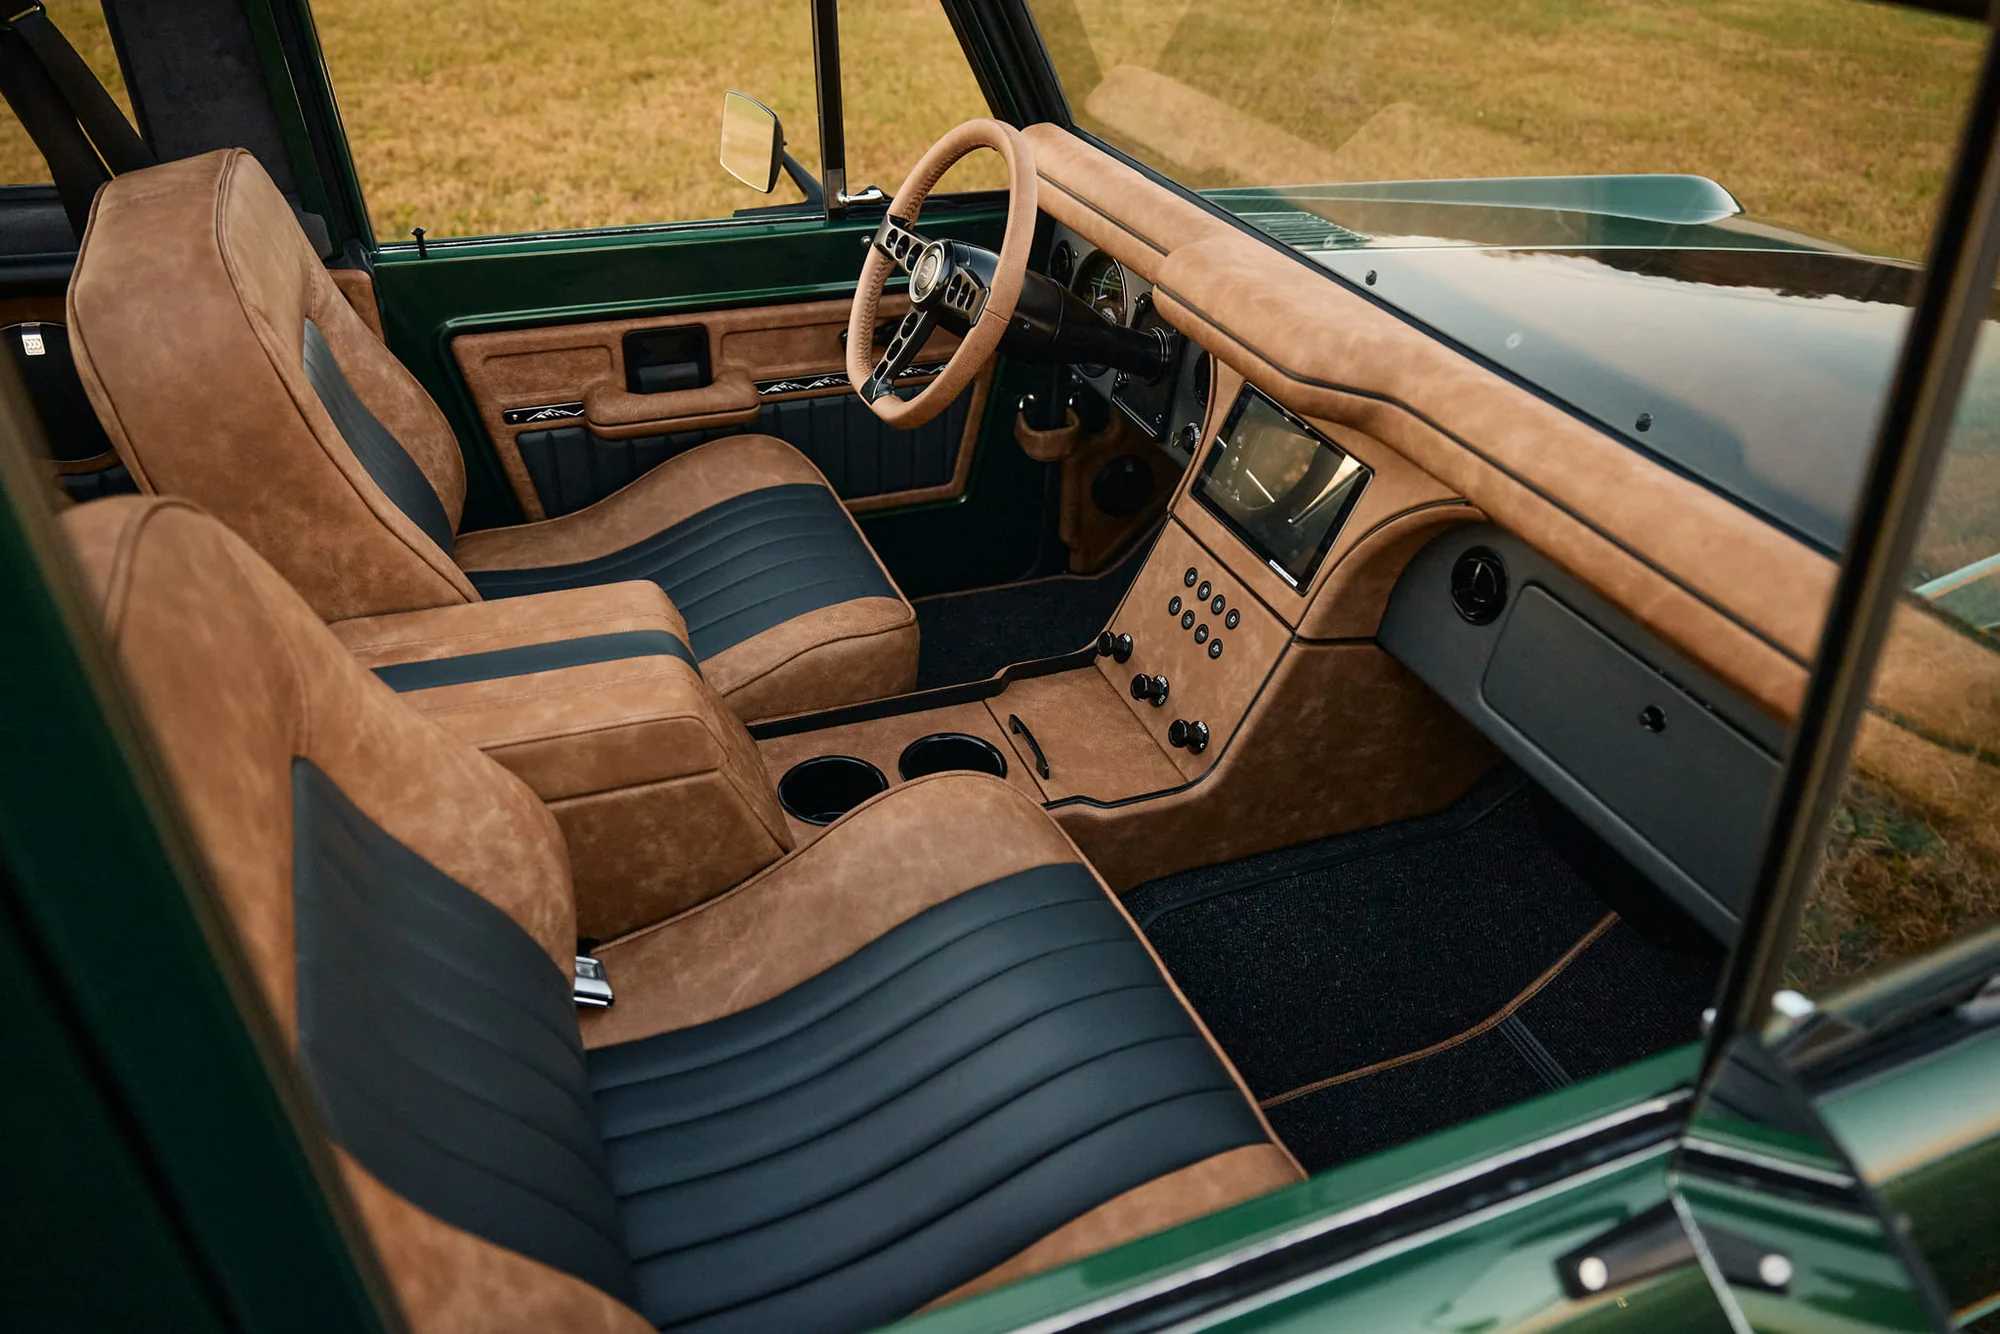
Introduction The Chevrolet C10 pickup from 1967–1972 embodies a rugged, timeless American automotive aesthetic. Its chrome-trimmed dash, chunky steering wheel, and classic V8 heartbeat make it a favorite among enthusiasts who want both retro vibes and reliable performance. In recent years, digital RTX (room-temperature or rapid-transient) instruments have emerged as a popular upgrade path for these classics. RTX, in this context, refers to digital, highly responsive gauge systems that can display essential data with precision, customization, and cleaner aesthetics than traditional analog gauges.
In this post, we’ll explore:
- What RTX instruments are and what they offer
- Why digital gauges are appealing for a 1967–1972 C10
- Key considerations for choosing and installing RTX instruments
- Practical tips for preserving vintage look while upgrading performance data
- A checklist to plan your upgrade
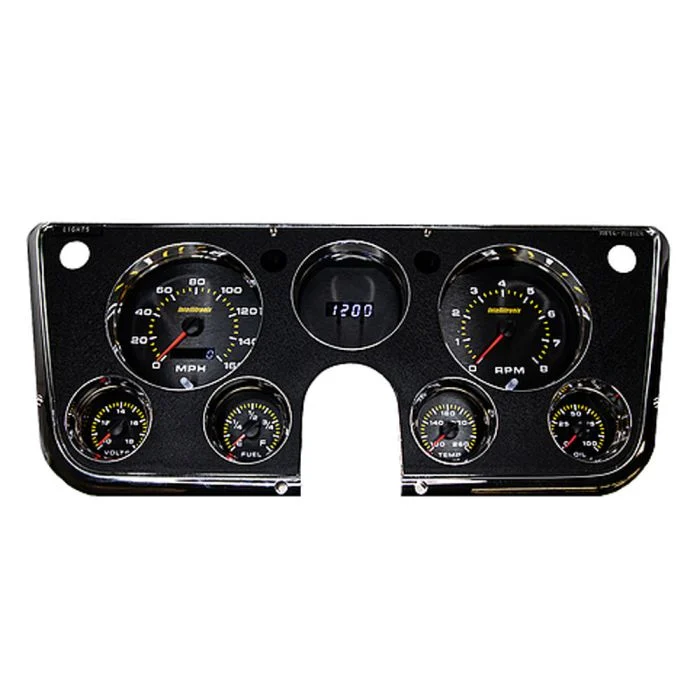
- What are Digital RTX Instruments? RTX stands for rapid-response digital instrumentation, though in the aftermarket world you’ll see a range of terms used to describe digital gauges (digital dash, digital gauge cluster, or programmable gauge displays). Core features typically include:
- Digital speedometer and odometer with precise reads
- Engine vitals: RPM, oil pressure, water temperature, voltage, fuel level
- Programmable alerts and alarms (shift, temp, oil pressure)
- Flexible display formats: numeric readouts, bar graphs, or graphical gauges
- Data logging and Bluetooth/Wi‑Fi connectivity for diagnostics and mobile apps
- Reconfigurable layouts to suit driver preference
- Why Upgrade a 1967–1972 C10 with Digital RTX Instruments?
- Precision and reliability: Analog gauges can drift over time. Digital reads maintain consistency, which is especially helpful for engines rebuilt or tuned over the years.
- Customization: RTX systems let you tailor the display to your driving style and conditions. You can choose the layout, color themes, and which data you want front and center.
- Clean, modern look: A digital cluster with a tasteful bezel or overlay can give a 1967–1972 C10 a refreshed interior while respecting its vintage silhouette.
- Data logging and maintenance: The ability to log temps, pressures, and RPM can simplify diagnosis and long-term maintenance.
- Reduced glare and night readability: Many digital gauges feature high-contrast displays that are easier to read at night.
- Key Considerations When Selecting RTX Instruments for a C10
- Dash compatibility: The 1967–1972 C10 uses a variety of dash layouts depending on trim level and cab configuration. Ensure the RTX kit fits your dash dimensions and mounting points. Some kits are designed to replace the entire cluster; others are add-on modules that surface data to a single gauge or a small display.
- Power and grounding: Classic trucks often have aging wiring. Look for kits with easy-to-wire power, ground, and an acceptable operating voltage (typically 12V). Some kits offer a simple power tap from the ignition switch to avoid constant-on power drains.
- Sensor compatibility: Original sender units (oil pressure, water temp, fuel level) may be different from modern sensors. Check whether the RTX kit includes, or can adapt to, traditional Buick/Chevy sending units or if you’ll need to upgrade the sensors in the engine bay.
- Display options: Decide between a full digital cluster, a space-saving “performance display” that sits in the factory gauge pod, or a modern multi-gauge TFT display. Color, brightness, and readability in daylight are key considerations.
- Programmability and accessibility: Some systems pair with a mobile app for calibration, data logs, and firmware updates. Consider whether you want wireless access, diagnostics, and easy reconfiguration.
- Integration with existing systems: If you’ve upgraded to electronic ignition, EFI, or modern fuel systems, ensure the RTX kit can read and display data from those systems or through an OBD-II style interface if applicable.
- Aesthetics: For a classic look, you might want an RTX module that mounts behind the stock bezel or uses a retro-styled faceplate. Many brands offer bezel kits or trim that preserve the period-correct appearance.
- Installation Essentials: Steps and Tips Note: If you’re not comfortable with electrical work or dash modification, enlist a professional installer or a shop with classic-car experience.
- Plan the layout:
- Decide which data you want front-and-center (speed, RPM, oil pressure, water temp, fuel level, voltage).
- Sketch a rough layout or use the vendor’s mock-ups to visualize the final look.
- Remove and assess the dash:
- Safely disconnect the battery before starting.
- Inspect dash wiring harnesses and gauge mounting points. Look for brittle insulation or corroded connectors.
- Gather required sensors and adapters:
- oil pressure, water temperature, and other sensors may require adapters for vintage engines (e.g., sending unit adapters for metric-to-standard threads).
- Ensure sensor locations are accessible and won’t leak or give erroneous readings.
- Wiring basics:
- Use a dedicated fused power source for the RTX display to avoid draining the battery, with an ignition-switched feed if readings should reset with the key.
- Grounding: Use a solid ground point and consider a separate ground wire for the display if noise is an issue.
- Shielded or twisted-pair wiring for sensor lines can reduce interference from the alternator or ignition system.
- Calibrate and test:
- After installation, calibrate the speedometer to the actual wheel/tire circumference to ensure accurate speed readings.
- Verify RPM scaling and verify sensor wiring to prevent erroneous readings at idle or high RPM.
- Check for dashboard heat: some displays can get warm; ensure airflow or heat shielding if needed.
- Aesthetics and finish:
- Use dash overlays or mounting bezels that respect the original style.
- If wiring runs are visible, bundle and route them neatly along factory channels to preserve the clean look of the dash.
- Practical Tips for Balancing Vintage Appeal with Modern Data
- Keep the faceplate period-appropriate: Choose a display that can be hidden behind or integrated into the stock bezel to maintain the classic look from the outside.
- Use a subtle color scheme: Prefer a dark interface with soft backlighting or a vintage-inspired color palette (creams, greens, or amber) that echoes era aesthetics.
- Show only essential data on the main screen: To avoid a cluttered dash, prioritize critical metrics (speed, RPM, oil pressure, water temp) and use secondary screens for less-frequently checked data.
- Consider tactile controls: If you want modern functionality without clutter, some systems offer physical push-buttons or knobs, preserving a tactile, classic feel.
- Documentation and support: Pick a vendor with clear installation manuals and a good support channel. Classic-car apps and firmware updates can be handy for long-term reliability.
- Example Use-Cases and Possible Setups
- Refresh with a single-display digital gauge: A compact unit mounts in the factory dash area, showing speed, RPM, temp, and oil pressure. Keeps the classic face while offering modern data.
- Full digital cluster upgrade: A complete module replaces the factory cluster with a high-contrast display that can be configured to show a retro-dash look via bezel covers and a faux-wood or metal trim.
- Smart integration: A system that connects to a diagnostic app for data logging, service alerts, and maintenance reminders—ideal for enthusiasts who track performance or rebuilds over time.
- Installation Project Timeline (example)
- Week 1: Define goals, select RTX kit, and acquire sensors/adapters.
- Week 2: Dash removal, fitment mock-up, and wiring plan.
- Week 3: Sensor installation, wiring, and initial mounting.
- Week 4: Calibration, testing, and aesthetic finishing touches.
- Week 5: Final checks, road test, and adjustments.
Conclusion A Digital RTX instrument upgrade for your Chevrolet C10 (1967–1972) can bridge the best of both worlds: the beloved classic ambience of a mid-century Chevy truck and the precise, customizable data that modern gauges provide. The key is thoughtful selection, careful mounting, and tasteful integration that respects the vehicle’s vintage character while delivering dependable performance data. If you’d like, tell me more about your C10’s trim level, the dash layout you’re working with, and what metrics you want in view—I can help you narrow down specific RTX kits, compatibility checks, and a tailored installation plan.
If you want, I can also draft a shopping checklist with recommended RTX brands and sample part numbers based on your budget and location.